Anodizing Aluminum
Anodizing is a finish treatment for aluminum that not only makes the metal surface harder and more scratch-resistant, but it makes it tintable with common dyes. The process is relatively simple, and it can be accomplished with some surprisingly ordinary household supplies.
Prepping
These are the aluminum pieces that I want to anodize... a pair of shakers. Almost anything made of milled aluminum is a good candidate for anodizing, although cast aluminum can pose challenges because of the silicon found in casting alloys. The other factors limiting what you can anodize are the size of the piece, the size of the anodizing tank, and the size of the power supply. These shakers happen to be good candidates for my small setup.
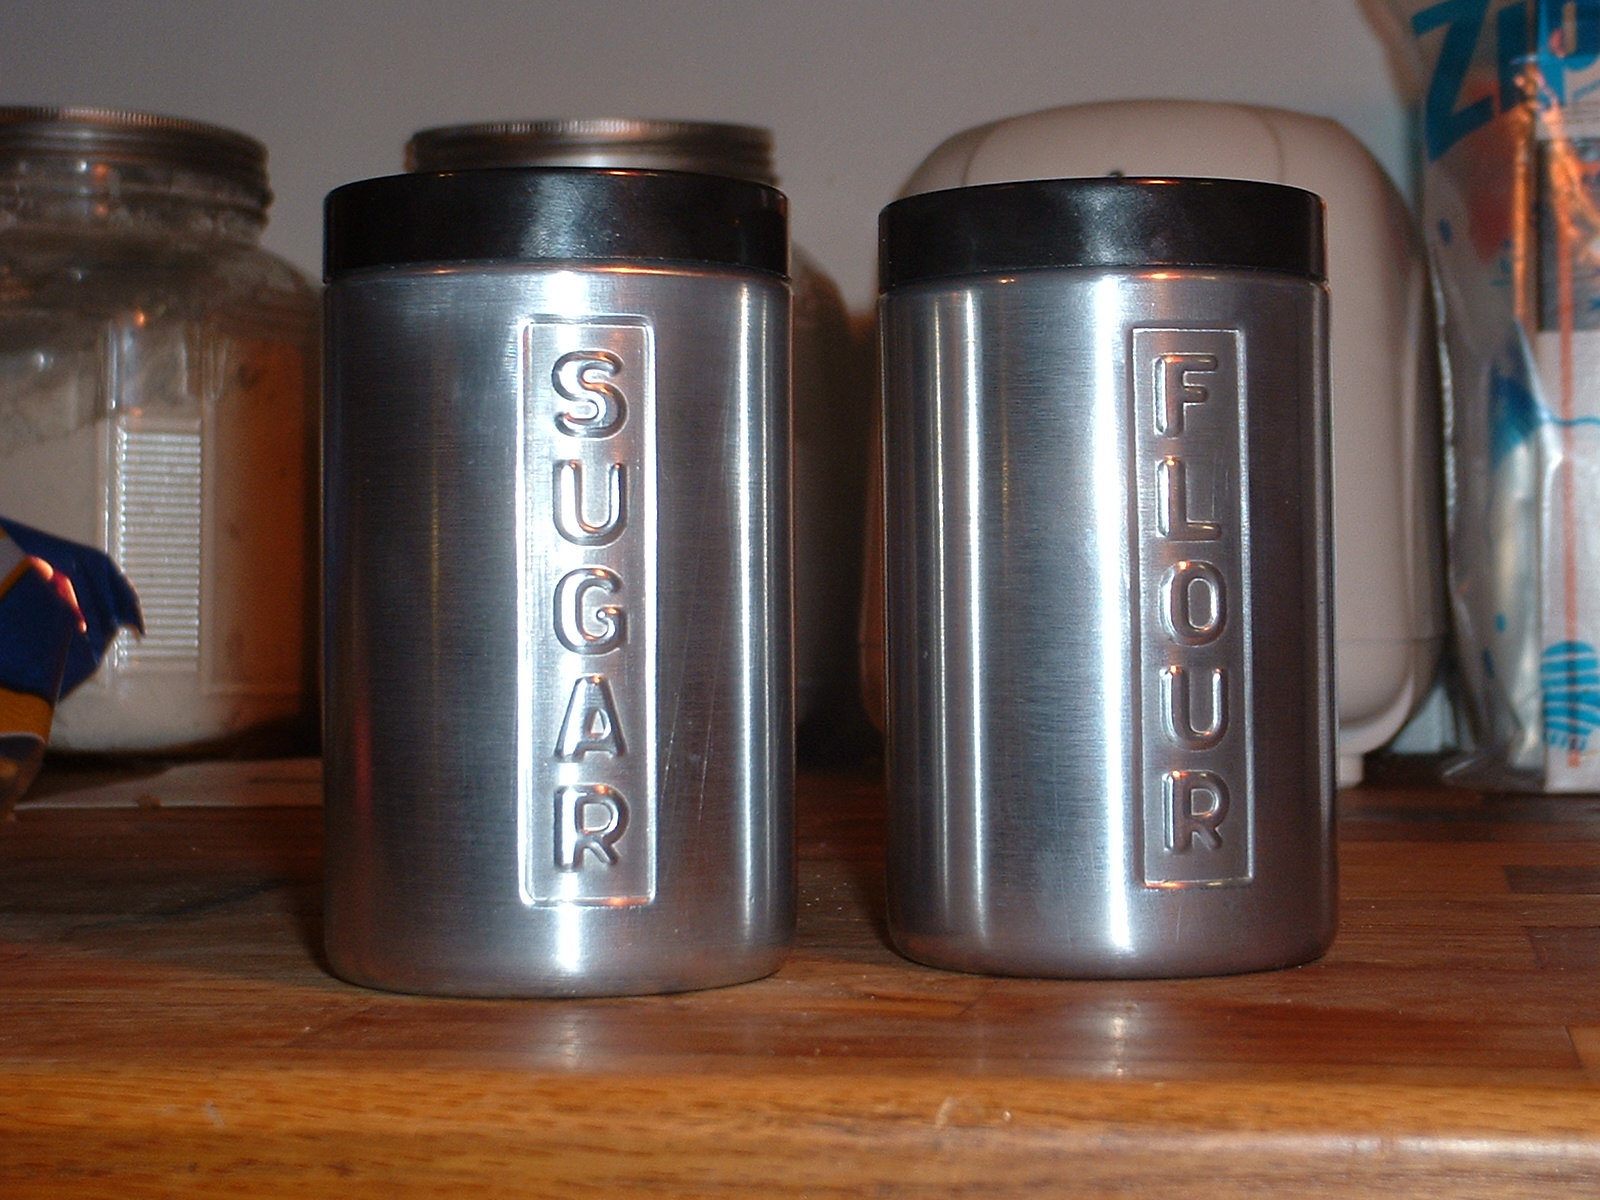
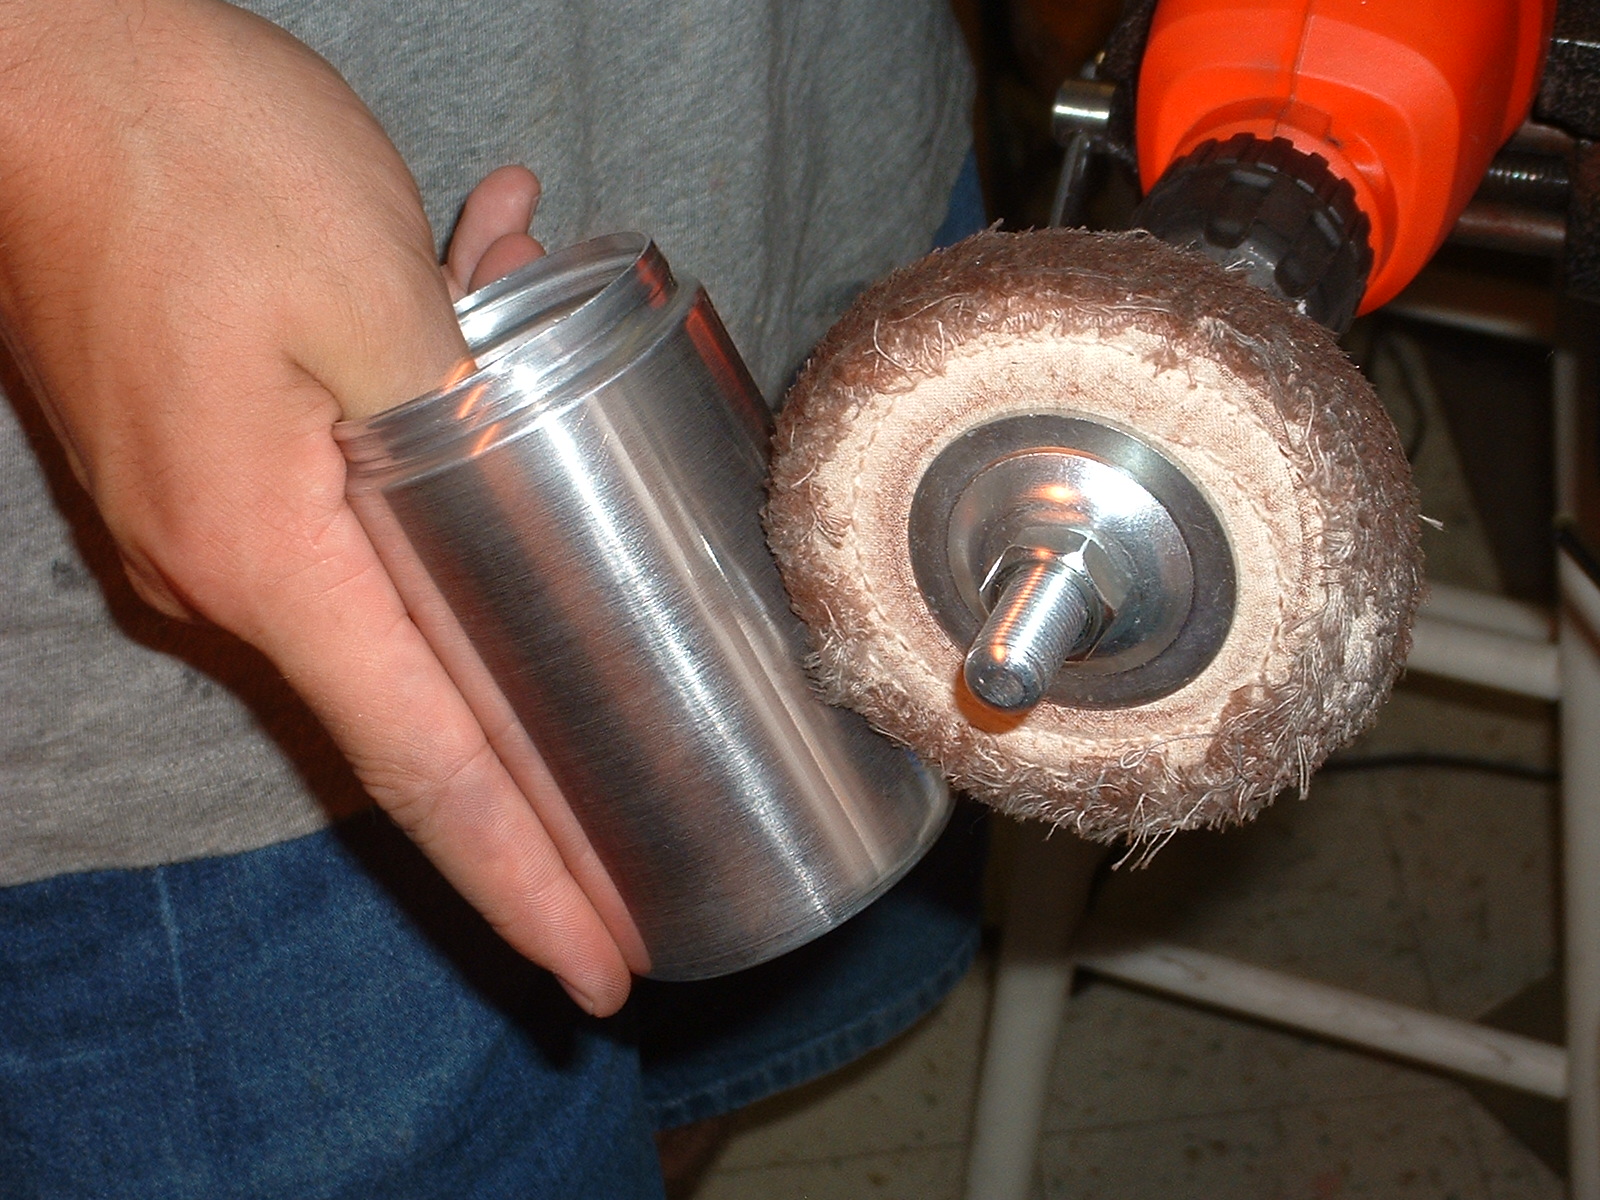
I begin by polishing the shakers thoroughly, first with white buffing compound and then with jeweler's rouge. The goal here is to remove as much of the pieces' existing oxide layer as possible (so that it can be anodized) and to achieve a shiny finish (so the final product will look good). My "bench polisher" here made of an arbor jerry-rigged to a variable-speed drill, which is in turn held in a vise.
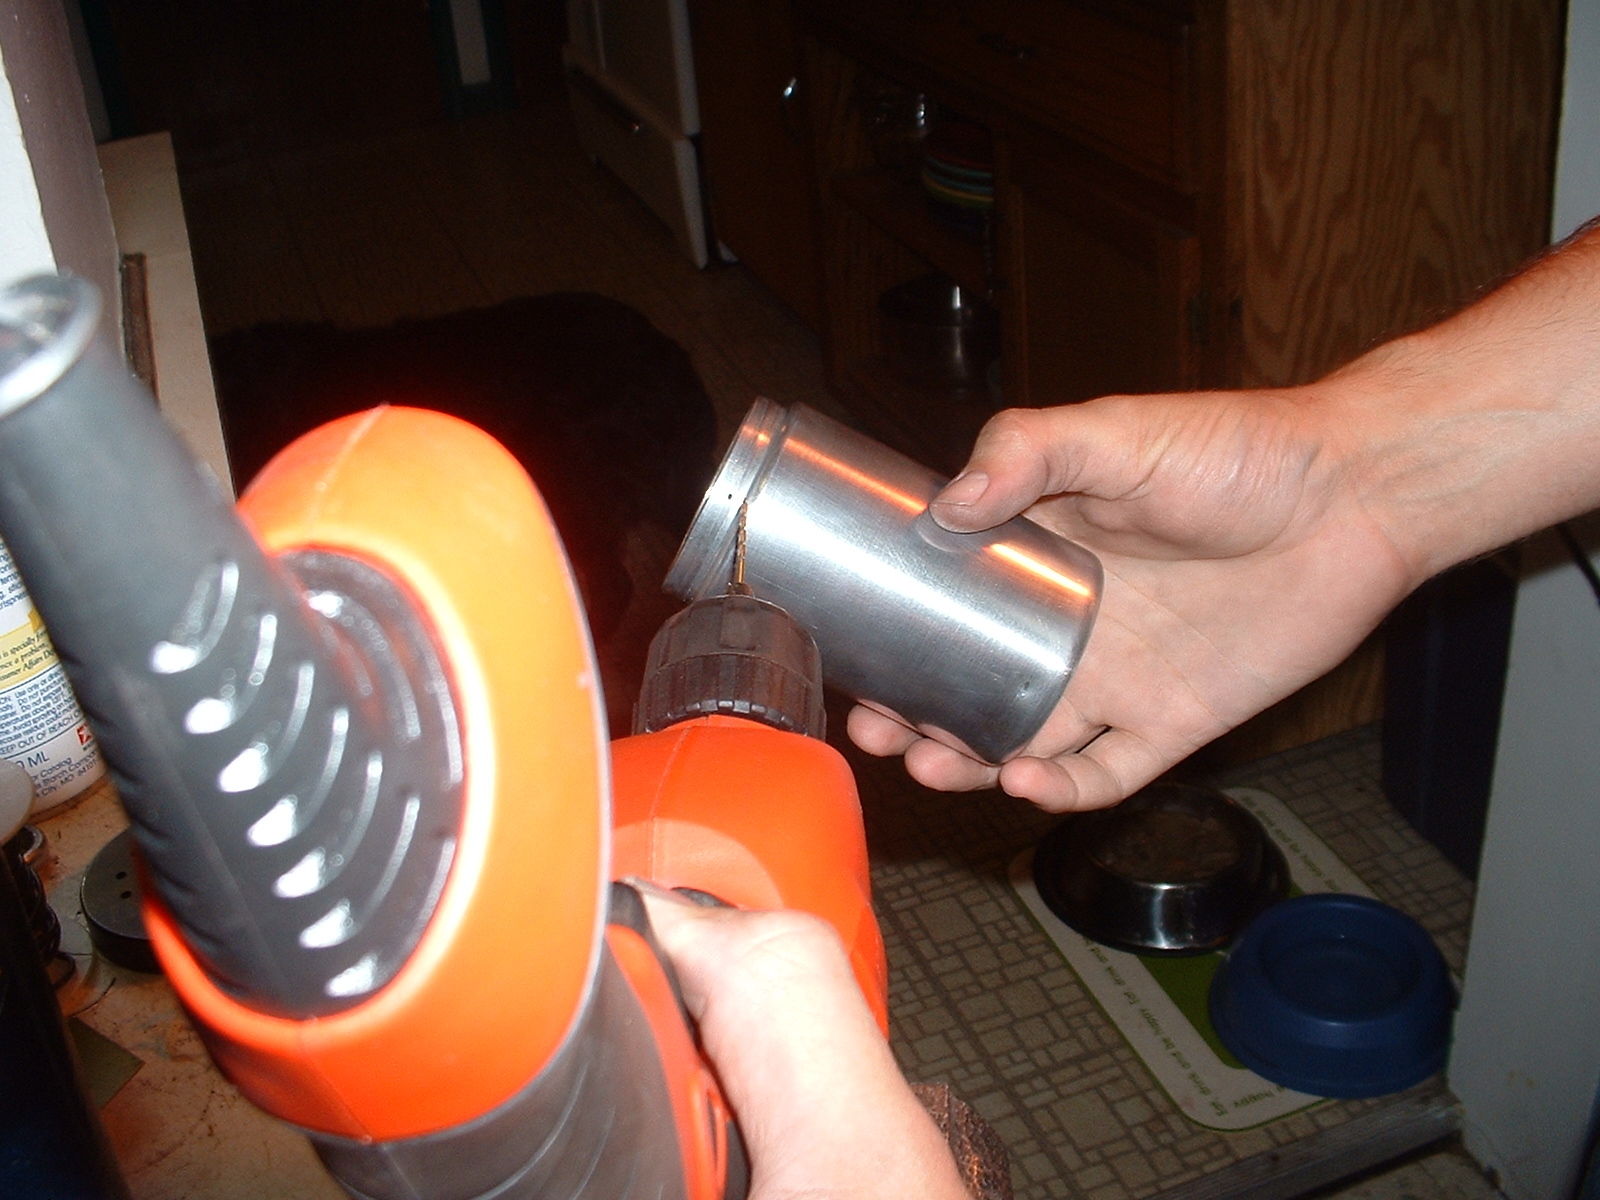
Next I drill holes for the hanging wires. These will support the pieces in the tank, and provide a conductive path for the anodizing current.
Next I crimp the aluminum wire into the holes to get a secure physical and electrical connection. The most common thing to go wrong is for oxide to build up here, eventually forming an insulating layer that stops the current and halts the entire process.

I clean the shakers thoroughly with detergent and water to get off all the oils and any remaining buffing compound. They are now ready for the anodizing tank. (It's also possible dunk the pieces in a lye solution to completely remove all traces of the existing oxide layer, but this also dulls the finish.)

Anodizing
The anodizing tank is a very humble affair: a 97¢ bucket and a plastic clothes hanger. Lining the bucket is a sheet of aluminum flashing (with it's protective coating removed—hence the scratches). The solution itself is diluted battery acid, available at most auto parts stores. The theory here is that, by passing a direct current through the surface of the aluminum, it will re-build the oxide layer that I took off earlier. This new layer will be thicker and more coherent than the old layer, and therefore more more scratch-resistant. The new layer will also be covered with "pores" that accept dye, making the pieces tintable.

The battery charger hooks up to the the bucket lining (the cathode, which is negative) and the shakers (the anode, which is positive). After turning on the current, bubbles form in the solution. The piece to be anodized will stay in until between 4 and 12 amp-hours of charge have flowed per square foot of surface area. As the oxide layer forms, the current will change, making it necessary to estimate the total amp-hours by taking readings every 10 minutes or so.

Dyeing
With the anodizing complete and the parts thoroughly rinsed in water, it's time to dye the shakers. Like the anodizing tank, the dye for the flour shaker is also very humble: RIT fabric dye.

After a few minutes in the dye, the flour shaker comes out nicely colored. One disadvantage of RIT dye is that it isn't very fast: this piece would fade quickly if left if the direct sun.

For the sugar shaker, I use a commercial anodizing dye in purple. It takes best when kept at 160° F, so I use a hotplate, a wastebasket, and a digital thermometer to accomplish the task.

This commercial grade dye has a very vibrant color, and is more fast than the RIT dye.

Sealing
To keep the dye from leaching back out of the metal, the surface needs to be sealed. This can be accomplished by soaking the pieces in a heated nickel acetate solution—which I used for this project—or by simply dunking the piece in boiling water for about 10 minutes. In earlier tests, I had trouble getting some colors of RIT dye to survive the boiling method (perhaps the dye particles were too big to fit in the pores as they were sealed?). Some colors of RIT dye also don't look good for anodized aluminum in the first place, so using RIT dyes is a matter of experimentation.
The Finished Products
These are the final shakers:

Other Examples
This is an inexpensive lamp from IKEA that I anodized with RIT dye (I believe IKEA calls the lamp a "lista"):

Here is an older "eyeball" floor lamp, using the same commercial dye as as the sugar shaker. (The scars on the side are from where I dropped it on a concrete floor. Whoops.) 
And these are vacuum tube socket covers for a electronics project that I'm working on. They were dyed with red and orange RIT... the orange one came out a lot closer to yellow in color, but still attractive. 